Does this mean that 3D printers are not applicable to other subjects, such as chemistry, math, and physics?
We believe the opposite is true. To prove it, we decided to develop a special workshop concept that would:
- Rely heavily on the use of 3D printers
- Minimize the need for technical skills such as 3D modeling or manual processing of 3D files
- Solve several different, real-life problems
- Utilize a simple workflow
- Use technology to keep students motivated and interested
DESIGN, PRINT, TEST
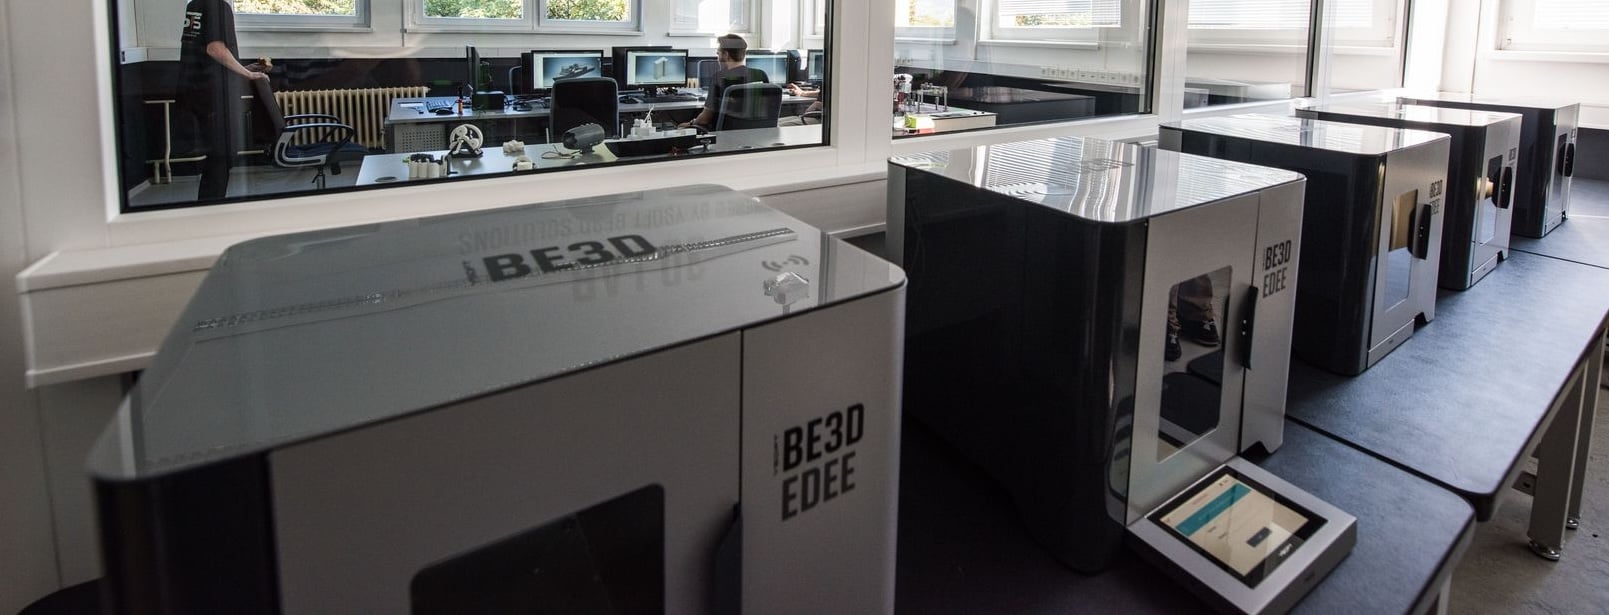
We had a chance to test the workshop for the first time at the beginning of December when the Autodesk Academia Forum conference was organized at Technical University in Brno, Czech Republic. Almost 50 high school teachers from all over the Czech Republic came for the event.For the workshop, we transformed our employee Relax Zone into a classroom for the day. Eight PC workstations and a fleet of eight networked eDee printers were used to simulate a classroom setting. Each workstation was used by 3-person teams of teachers who were expected to ‘walk a mile in students’ shoes’ during the workshop.
The workshop was divided into three main phases:
1. DESIGN
Using an online application, teachers were shown how to design their own wind turbine model really easily. The teams were to input key parameters of the turbine (blade height, width, angle, and number of blades) in numbers, and the application did the modeling part.To use it, one doesn't need special skills but still remains challenged by having to figure out the most effective design (by trying different parameters such as a higher number of blades vs. the overall weight of the turbine or what effect an odd or even number of blades might have on the resulting output).

2. PRINT
Once satisfied with their model, they downloaded the final model as a .stl file. Using DeeControl software (software used to prepare 3D files for the YSoft BE3D 3D printer), they sent the job to print. Which printer could they use? Any available printer since eDee uses Print Roaming to pull the print job from the network.
3. TEST
When the 3D printing was finished, teams were ready for the final phase. After unlocking the printer and obtaining the printed object, they came to the testing device area to test and measure the electricity output of their turbine model.For that, we used a special testing device (yes, we built it from 3D-printed parts). The device used an electrically powered computer cooling fan built in a 3D-printed case. The air stream was directed to the spindle, where the turbine model was to be attached. The mechanical part of the spindle was connected to the voltmeter, which converted RPMs to millivolts.
Just so you know, building the special testing device takes about one hour for an average handy person and two hours for not-so-handy tinkers (such as the author of this post).

So, which educational subjects were used in creating and testing a wind turbine?
Math calculations, including physics, were used to find the best possible parameters of the turbine’s design while transforming mechanical energy into electrical energy. Both were used in a practical, real-life application that didn’t require extraordinary technical skills. Each team completed their project in 90 minutes.
Although we didn’t involve iterations of the model in the workshop because of time constraints, one can imagine that could be done by simply adjusting the project goal to reach a certain output threshold value. Repeating the whole process again and again until the desired result is achieved is the most effective way for students to understand the math and physics behind the assignment fully.
Knowing that iteration was not possible for this workshop, we added a gamification element by having a competition for the most effective design. Once teachers found out about the competition and prize, they engaged passionately with the assignment, Googling for information about wind turbine mechanisms, having lively discussions about different ideas, and, most importantly, having fun while educating themselves.
Y Soft was pleased to sponsor the Autodesk Academia Forum and to host the teams of teachers who visited our offices in Brno to take part in this special workshop.
Does this sound like a teaching approach your students could benefit from? Reach out to our expert team and let them guide you through how BE3D works and how it can benefit your educators and students, and get all your questions answered in one sitting.


